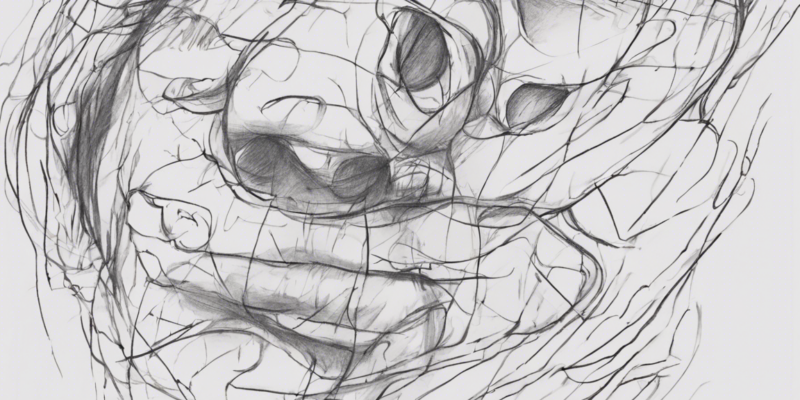
Drawing is a creative and rewarding form of self-expression that can be enjoyed by individuals of all ages and skill levels. If you’re a beginner looking to improve your drawing skills, this step-by-step guide will help you learn the basics of drawing a simple picture. By following these instructions and practicing regularly, you’ll be able to develop your artistic abilities and create beautiful works of art. Let’s get started!
Materials Needed
Before you begin drawing, make sure you have the following materials on hand:
- Paper: Start with a blank piece of paper, preferably a smooth surface that’s easy to work on.
- Pencils: A set of drawing pencils with different lead hardness (e.g., H, HB, B) for varying line weights.
- Eraser: A soft eraser to correct mistakes and lighten lines.
- Sharpener: Keep your pencils sharp for precise lines.
- Drawing surface: A flat and stable surface to work on.
Step 1: Choose Your Subject
Decide on a simple subject to draw, such as a fruit, flower, or object. Start with something that has basic shapes and forms to make it easier for you to replicate.
Step 2: Sketch the Basic Shapes
H2 Start with simple shapes
Use basic shapes like circles, squares, and triangles to outline the major components of your subject. This step will help you establish the proportions and composition of your drawing.
H3 Example:
If you’re drawing an apple, you can start by sketching a circle for the fruit and a small rectangle for the stem.
Step 3: Add Details
H2 Refine the shapes
Once you have the basic outline, start adding more details to your drawing. Look closely at your subject and notice any distinctive features that you can incorporate into your sketch.
H3 Example:
Add the apple’s leaf and any subtle contours or textures on the surface of the fruit.
Step 4: Shade and Texture
H2 Create depth with shading and texture
Use different shading techniques to add depth and dimension to your drawing. Experiment with cross-hatching, stippling, and blending to create realistic textures and shadows.
H3 Example:
Shade one side of the apple to create a sense of light and shadow. Gradually darken areas that are in shadow for a more realistic effect.
Step 5: Refine and Erase
H2 Clean up your drawing
Take a step back and evaluate your drawing. Use your eraser to correct any mistakes or lighten any unwanted lines. Refine the details and make any final adjustments to enhance the overall appearance of your artwork.
Practice Tips:
- Practice regularly: Drawing is a skill that improves with practice, so make time to draw every day.
- Study other artists: Observe the work of experienced artists and try to replicate their techniques in your own drawings.
- Experiment with different mediums: Explore drawing with charcoal, ink, or colored pencils to discover which medium you enjoy working with the most.
- Take a drawing class: Consider enrolling in a drawing class or workshop to learn from an experienced instructor and receive feedback on your work.
Frequently Asked Questions (FAQs)
H2 1. What are the basic drawing techniques for beginners?
Answer: Beginners should start by practicing basic techniques like contour drawing, shading, and perspective to improve their drawing skills.
H2 2. How can I improve my drawing accuracy?
Answer: Pay close attention to proportions, angles, and relationships between different elements in your subject to improve the accuracy of your drawings.
H2 3. Should I use reference images when drawing?
Answer: Using reference images can be helpful for beginners to study shapes, forms, and details of objects they want to draw.
H2 4. How do I overcome a fear of making mistakes in my drawings?
Answer: Remember that mistakes are a natural part of the learning process. Embrace your errors as opportunities to learn and improve your drawing skills.
H2 5. How can I develop my own drawing style?
Answer: Experiment with different techniques, subjects, and mediums to discover what resonates with you artistically. Your unique style will evolve as you continue to practice and explore new possibilities.
Whether you’re drawing for fun or aspiring to become a professional artist, following these steps and tips will help you build a solid foundation in drawing. Remember to be patient with yourself, stay consistent in your practice, and most importantly, have fun expressing your creativity through art. Happy drawing!
Comments